Point Blank Tutorial: Improve Your MIDI Workflow Using Logic Pro X’s Autopunch & Replace
COURSES, SOFTWARE DEALS, FREEBIES & MORE
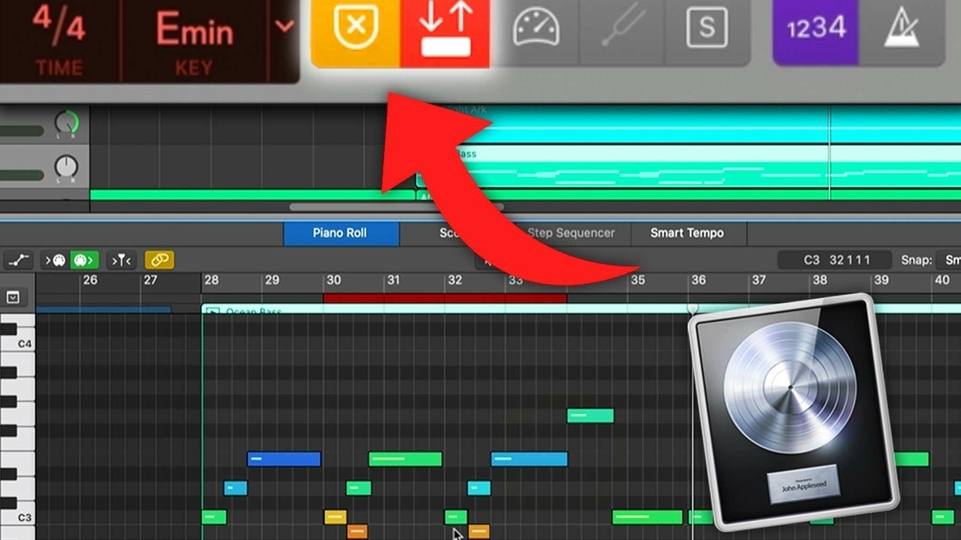
In this tutorial, Point Blank’s Risa T shows how you can use Logic Pro X’s Autopunch and Replace features to alter certain sections of your MIDI clips, without having to re-record entire sections.
Using Autopunch and Replace, you can record over a specific portion of a project without affecting the rest, meaning you won’t need to re-record the entire clip until you’re happy with it. So it’s perfect for adding in new parts, correcting mistakes and editing existing clips.
If you’re interested in learning more about how DAWs like Logic Pro X and Ableton Live work, we’d highly recommend checking out one of Point Blank’s courses in London, Los Angeles and Online. Plus, they’re currently offering 10% off their popular online diplomas until 30th November using the code DIP10 – so there’s no better time to sign up than now.
During the video, Risa fires up Logic Pro X’s demo track to demonstrate just how easy it is to edit the existing parts of a song using Autopunch and Replace. She sets up her Autopunch and Replace by control-clicking Logic Pro X’s control bar, selecting customize control bar and display and ensuring the “Autopunch” and “Replace” boxes are checked. Risa is now able to use the Autopunch bar locator to select a certain area she wants to replace the notes. What’s clever about Autopunch is that it only starts recording and replacing the notes once the playback head hits your selected Autopunch area, meaning you can try out your changes in the lead-up. Once Risa has recorded in her bassline alterations, she shows how you can unmerge the MIDI clips and replace the original notes whilst recording, using the Replace function.
