Beginner’s Guide: Reverb
In the latest edition of our new series exploring the basics of music production, E.M.M.A. tackles the washy subject of reverb and explains why getting it right or wrong can be the difference in your track
I’m Emma. I have been releasing electronic music as E.M.M.A. since 2012. Like most producers, I am self-taught, but had friends who showed me the basics. Without this, learning would have been daunting. Courses are expensive and a lot of production discussion is too granular or ego-driven to be useful to an absolute beginner. This can put people off completely.
I know this because I started the producergirls workshops in 2016 and many who attended cited a lack of confidence as a reason they had not produced before.
In this column, I really want to convey that anyone can produce music if you have a laptop and a desire to express yourself with sounds. I hope that a simple breakdown of the basic techniques and guidelines will show you that it can be fun too. So read on, go forth and make a banger!
For more tips and community support follow producergirls on Insta.
Phil Collins’ snare could have its own column. Reportedly the result of a happy accident by producer Hugh Padgham, legend has it that when Phil wacked the drumkit in a sesh, it was picked up by a heavily compressed overhead studio talkback mic. The result? Gated reverb, the defining sound of the ‘80s. Arguably the best effect (fight me), reverb is why we're all better singers in the bathroom. Our ears naturally process the space around sounds, so it makes sense to add the illusion of space into our music.
Applying reverb to your sounds helps take your track from 2D to 3D by placing them in a 'room' of your choice. You can create distance, add warmth and depth, or even emulate concert hall or cathedral ambience. In its simplest form, it is used to unite drum hits and add a professional glow to vocals. It is a creative as well as a functional tool.
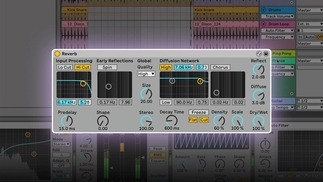
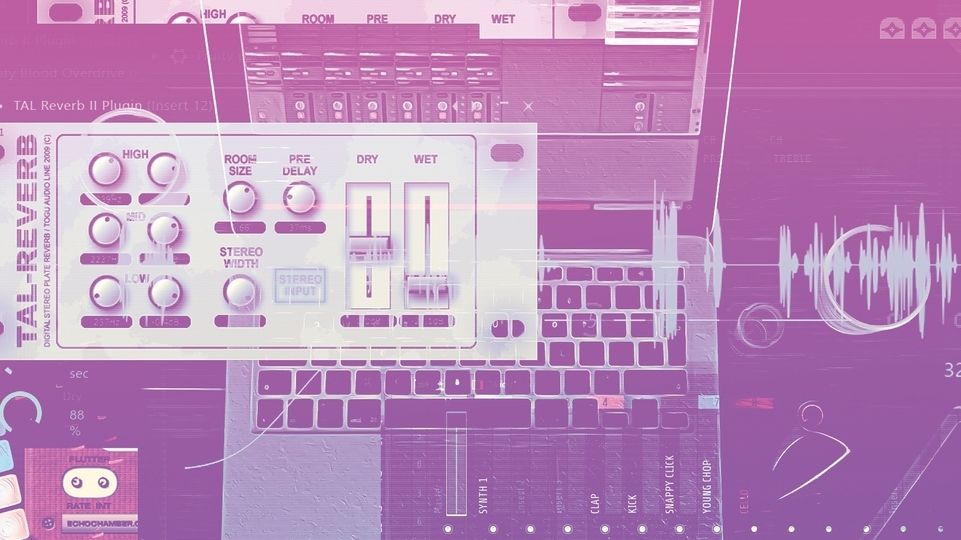
Reverb’s routes lie in analogue hardware, but there is a range of digital types too. Check out TAL’s free to download reverbs - a cult fave with producers including Nightwave. In your DAW, have a look at a stock reverb in effects. Let’s start with the ‘wet/dry’ faders. If you have a play around, you’ll note the higher the wet is, the more reverb is applied to your ‘dry’ sound.
"Listen to your mix in headphones as well as monitors to get the detail of how prominent your reverb is"
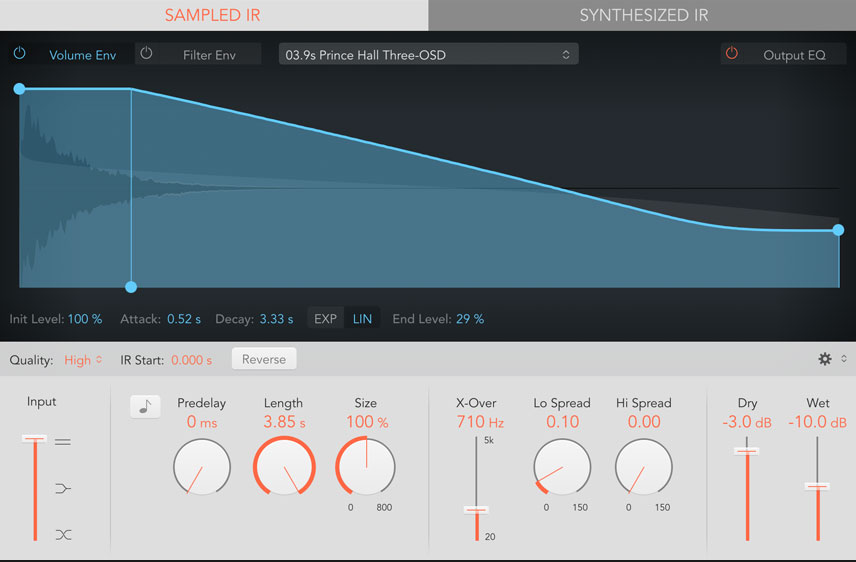
You’ll see a handful of knobs which will determine the size and shape of the space that you are placing your sounds. Key ones to note include ‘pre-delay’, the time between your ‘dry’ sound and the reverb onset and ‘decay’ i.e. how long the reverb lasts before dissolving. ‘Diffuse’ dictates how busy the room is and ‘size’, helpfully, refers to the size of the room. *exhales*
Which combo will fulfil a function in your track? Like anything, it starts with emotional intent. Are you looking for a natural, warm effect or something metallic, dark and scary? You sometimes hear sound engineers complaining of 'too much reverb' which can make things sound a little cloudy. There are a few guidelines to get you going – but remember – Phil and Hugh invented gated reverb by accident! The end goal is to give our track more presence, keeping clarity where it’s needed. It’s not about being put off by an imagined sound-guy killing the vibe.
Listen to your mix in headphones as well as monitors to get the detail of how prominent your reverb is. Set the volume of any reverbs with the full track playing – as all reverbs will combine in the master (sometimes easy to forget!) The louder the reverb, the further back in the mix the instrument will be. Think about using it strategically to place instruments such as synths behind vocals. If in doubt, less is more. The faster the track, the shorter the reverb (keep the pace!) Generally, you don’t reverb the kick or bass unless your track is playing on a spaceship.
Have a look into how to create 'sends' and 'returns' so that you can apply the same reverb over multiple instruments to save computing power and sound more cohesive. Your DAW's help resources should cover this. There are more tips to be aware of as you become more familiar with the basics to produce an extra level of professional sound, but it doesn’t get much more complex. The fun is in trying out different things, learning to trust your ears and seeing what will become a feature of your signature sound.
